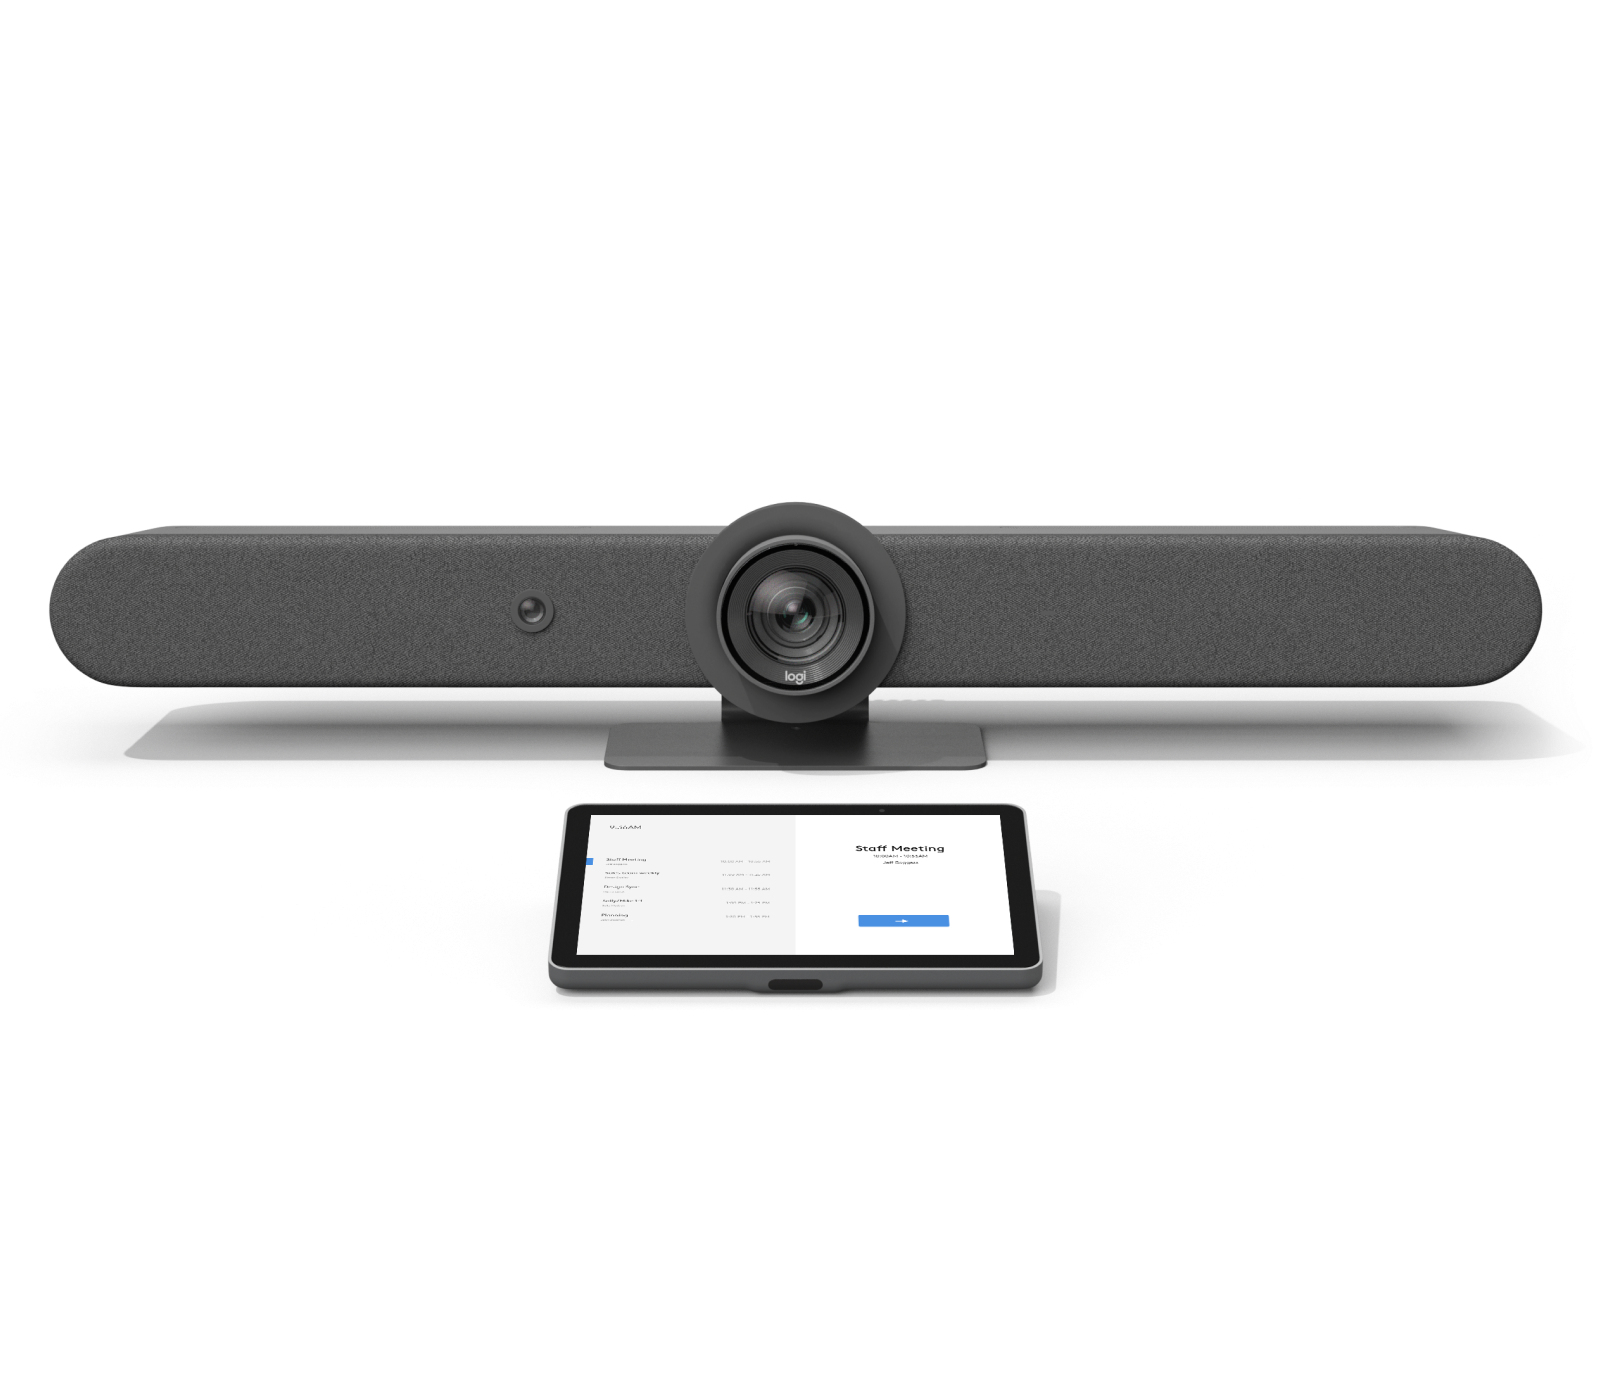
Instructional Guide: How to Use Logitech with Zoom Rooms
When you first enter the conference room, you will notice the Logitech Rally Bar Camera sitting below the TV, the Logitech Tap and Logitech Swytch cable on
...
the table. There are two ways to use this space, the first is a BYOD (Mac or Windows)
...
If you are
...
using MacOS, MacOS DisplayLink Software(https://www.synaptics.com/products/displaylink-graphics/downloads/macos) is required. The second option is Zoom Rooms, you will be able to join or host your meetings via the Logitech Tap touch panel on the table.
Option 1: BYOD Logitech Swytch Cable
...
For all MacOS
...
, please install the following
...
software in order for Logitech Swytch cable to work:MacOS DisplayLink
...
...
- Plug the Logitech Swytch Cable to your laptop (Either USB-A or USB-C)
- For MacOS Laptops, please have the DisplayLink Drivers installed before doing so.
- You will then hear a prompt from Logitech, and you will see a 5 seconds count down on the screen.
- After the 5 seconds count down you will then see your laptop displayed onto the TV.
- For Zoom Calls, please make sure your default cameras, mics, and speakers are Logitech Rally Bar or Logitech Tech PTZ Camera.
Option 2: Zoom Rooms
1. Start Logitech Tap
- Tap the touch screen panel on the table to start.
2.
...
- Logitech Tap will automatically detect Zoom Rooms.
- Follow the on-screen instructions to sign in to your Zoom account.
...
Start a Zoom Meeting
- Tap "Start New Meeting" on the Logitech Tap's home screen.
- Select your preferred meeting options and tap "Start."
- Afterwards you should see "Starting Meeting" on the touch screen panel.
...
- Your meeting will start immediately.
3. Join a Scheduled Meeting
- Tap "Join Meeting" on the home screen.
- Enter the meeting ID or select it from the list if it's pre-scheduled.
- Tap "Join" to then enter the meetingpasscode.
...
4. Control the Meeting
- Use the touch screen to manage the meeting, like mute, unmute, and camera on/off.
- Adjust the volume using the volume bar.
- Change the views on Zoom (Gallery, Thumbnail and Speaker)
- Invite attendees
...
5. Invite Attendees
- Tap "Invite" to invite attendees via Zoom or email.
- To invite attendees via Zoom, under contacts you can search for the attendee's uni or name.
- You can also invite attendees via email.
6. Camera Controls
- Control the camera by tapping the camera icon on the screen.
- Camera Manual Frame/ Auto
- Manual Frame: Allows you to manually control the camera (Zoom, Pan, and Tilt).
- Speaker Focus: Will automatically pan and zoom in on the speaker.
- Auto-Framing: Will automatically pan and zoom in on two or more speakers.
7. Share Content
- To share content, tap "Share Content" on the screen.
- Choose whether to share your screen, a whiteboard, or a document.
- You can also use the Logitech Swytch Cable to screen share via USB or USB-C as well.
- Follow the prompts to select and share your content.
- Tap "More" to view the chat, reactions, polls, closed captioning, and breakout rooms.
9. End the Meeting
- To end the meeting, tap the "End Meeting" button on the Logitech Tap's screen.
- Confirm your choice to end the meeting.
That's it! You're now ready to use the Logitech Tap with Zoom Rooms for efficient video conferencing and collaboration, including ending meetings and camera control.


